
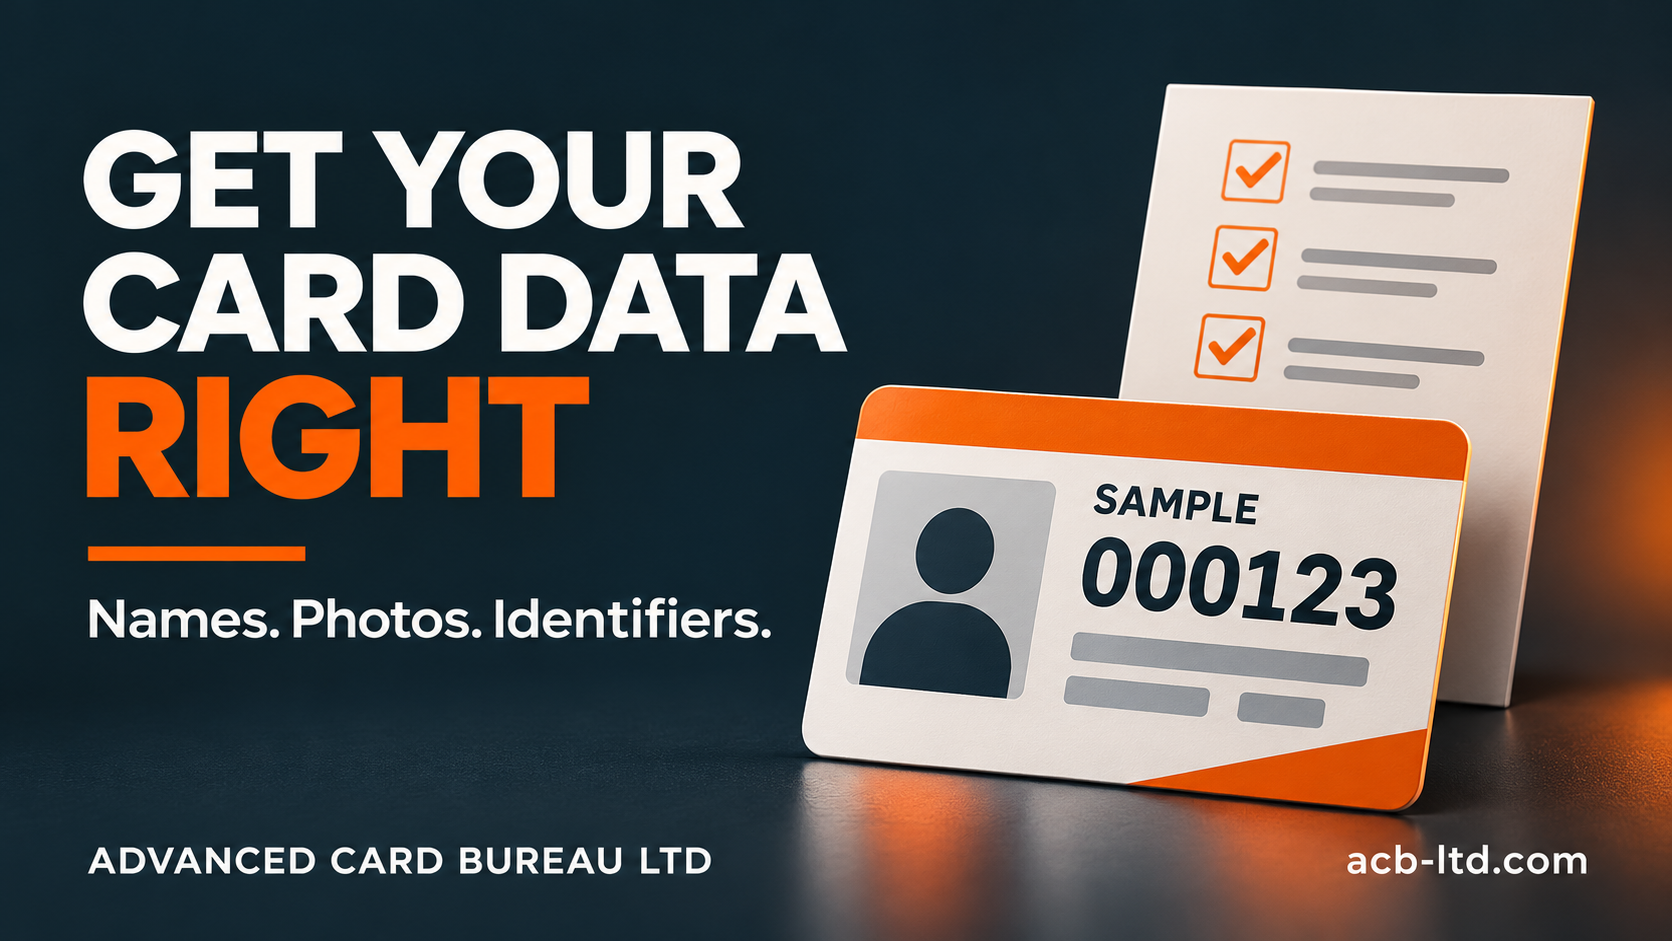
A card printing data file tells the printer which details belong on each card. Prepare a clear row for each card or agreed set, preserve the exact identifiers, match photographs consistently and check representative records before approving production.
This checklist is for organisations preparing personalised membership cards, photo ID cards, gift cards or key tags. Agree the final file format and transfer route with ACB before sending personal information. The examples below are illustrative, not a mandatory upload template.
1. Decide what one row represents
For individual cards, one row will usually describe one finished card. A card-and-tag set or a three-part key tag card needs a different agreement: does one row represent a person, a parent card or one finished tag? Record the number of finished pieces as well as the number of rows.
For example, 100 parent cards with three detachable tags produce 300 tags. If each set belongs to one account, the three tags may share an identifier. If they belong to different accounts, each needs the correct separate identifier. Confirm this before generating the data.
2. Separate the fields you want printed
Use descriptive column headings and keep different pieces of information in separate columns. Only include fields needed for the agreed job. A photograph filename is useful when it links the record to an image supplied separately.
| Example field | Illustrative value | Check before supply |
|---|---|---|
| Card reference | 000123 | Keep all six characters, including the leading zeros. |
| Printed name | Alex Example | Use the approved spelling and capitalisation. |
| Membership tier | Standard | Match the wording used in the approved design. |
| Printed expiry | 31 Dec 2027 | Agree one unambiguous display format. |
| Photo filename | 000123.jpg | Match the actual supplied image filename exactly. |
| Barcode value | 000123 | Use the value and barcode type approved by your system provider. |
A printed reference and a barcode value do not have to be identical. If your system requires different values, keep separate columns and make the relationship explicit.
3. Protect leading zeros and long identifiers
Card numbers are identifiers, even when they contain only digits. In Excel, set the relevant columns to Text before entering or importing them. Automatic number conversion can remove leading zeros or alter long strings. Formatting a damaged number afterwards does not recover its original value; check it against the source record.
If you export a CSV, verify the exported values with a text-aware import or viewer. Reopening a CSV normally in a spreadsheet can trigger conversion again. See Microsoft’s guidance on retaining leading zeros and large numbers.
4. Match photographs and check unusual records
Use a consistent filename convention linked to a unique card reference. Check for missing files, repeated filenames and photographs assigned to the wrong person. Include the longest names, accented characters, different tiers and any blank optional fields in the proof sample. A short name that fits does not show how a much longer name will look.
For address-based fulfilment, agree the address fields and matching reference separately. Card counts, letter counts and mailing counts may differ, so confirm each total.
5. Separate printed information from system permissions
A printed barcode, QR code or RFID reference must match the system that will use it. Printing a card does not create a membership account, load a gift balance or grant door access. Your platform or access-system administrator controls those records and permissions.
For RFID card printing, distinguish an employee number from a chip identifier and agree the exact representation expected by the reader or software. For hotel key cards, confirm the credential with your lock-system provider and keep guest issuing separate from artwork approval.
6. Test codes at the finished size
Confirm the barcode type or QR purpose with your system provider. Keep the required clear space around the code and away from card edges, holes and break lines. GS1 UK explains why barcode quiet zones matter; the exact dimensions still depend on the code specification.
Use an agreed sample to check three things: the reader recognises the code, the value is correct, and your software opens the intended test record. Check the finished card or tag size, rather than relying only on an enlarged screen proof. A successful phone scan alone does not establish compatibility with your workplace scanner.
7. Approve the file, artwork and issue plan together
- Confirm the final row count and the number of finished cards or tags.
- Resolve missing fields and unintended duplicate identifiers.
- Check photographs, long names, dates and sample codes.
- Confirm front and reverse layouts and the selected material.
- Keep a clearly named approved version and identify who can authorise changes.
- Record the last identifier used and the agreed process for replacements and reorders.
Duplicate identifiers can be intentional within an agreed matching set. Flag them for review rather than deleting them automatically. Your system administrator should decide whether a replacement retains an identifier or needs a new one.
Prepare your next card order
Send ACB a brief covering the card type, quantity, variable fields, system requirements and required date. Start with invented sample records if you need to demonstrate the layout. We can then agree the production file, artwork checks and how the final data should be supplied. Contact ACB about your card printing data.
Prepared by Advanced Card Bureau Ltd. Updated 8 November 2026.
